
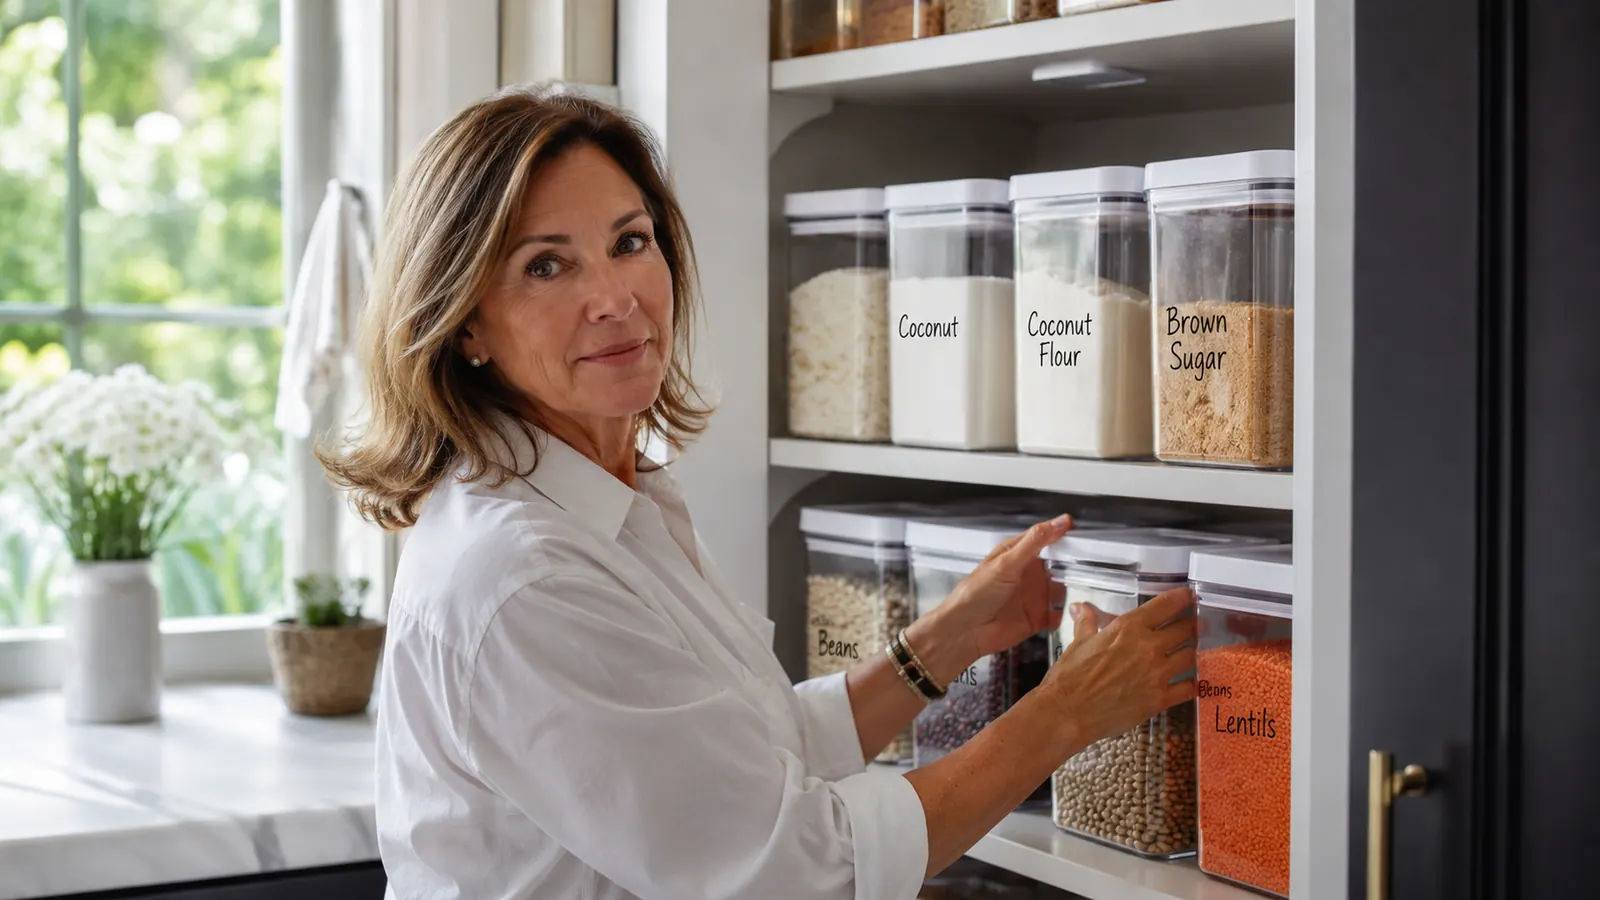
My pantry used to look like a chip aisle after a toddler tornado. Half-open bags of flour rolled up with a binder clip, a box of rice standing open because the top flap tore off in 2022 and never got fixed, and a family of pantry moths I finally had to admit I was hosting rent-free. That was three summers ago, before I redid the whole thing around a single Vtopmart 24-piece airtight container set, and it is the one kitchen project that has actually stayed fixed. Not tidied for a photo and back to chaos in a week, the way most of my organizing projects go. Fixed, still, today, three years and countless grocery runs later.
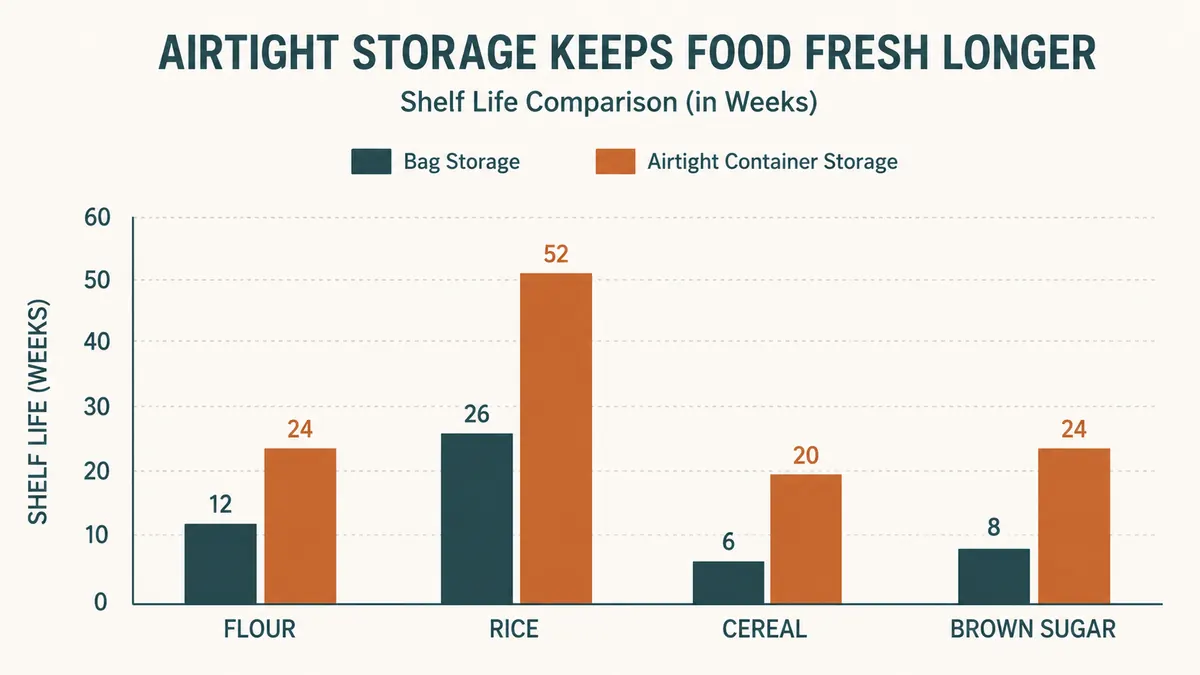
I live on the Gulf side of Florida, and if you have ever kept flour in its paper bag through a humid August, you already know why that matters more here than it does somewhere dry. Humidity gets into everything that is not sealed, and it brings bugs with it, weevils especially, which I learned about the hard way when a bag of cornmeal turned out to have more going on inside it than cornmeal. When I finally sat down and rebuilt my pantry system, I did it around that Vtopmart set, and this is the exact process I used, step by step, including the parts I got wrong the first time through.
Stop fighting clip bags and twist ties
The Vtopmart 24-piece set is what I used to rebuild my own pantry from scratch. Airtight seals, stackable shapes, and enough pieces to actually finish the job in one weekend instead of running back to the store three times.
Amazon Check Today's Price on Amazon →Before I get into the steps, one honest note. This is not a 45-minute Pinterest project. Doing it right takes a full Saturday if your pantry is anywhere near as stuffed as mine was, maybe longer if you have a second shelf of overflow items in the garage like a lot of Florida houses do. Budget the time or you will end up with half a pantry redone and a pile of open bags on the counter overnight, which is its own kind of chaos, and I speak from experience on that one too, having tried to squeeze this into a lunch break once and regretted it by dinner.
Step 1: Empty everything and throw out what you're pretending isn't expired
Pull every single item off every shelf. All of it, onto the kitchen table or counter, even the stuff shoved way in the back that you have not touched since last Thanksgiving. You cannot organize around clutter you cannot see, and half the point of this project is finding the stuff hiding behind the stuff. I found two bags of brown sugar that had gone to concrete, a box of couscous I bought for a recipe I never made, and cornmeal that had been open long enough to grow something I did not want to identify up close.
Check dates as you go. Anything opened more than six months ago that is not a shelf-stable staple like white rice or salt, be honest with yourself and toss it. This step feels wasteful in the moment but it is the only way the finished pantry actually reflects what your household eats, instead of a museum of good intentions and one-time recipe experiments that never made a second appearance.
Wipe down every shelf while it is empty, corners included, and do not skip the back wall. This is also when I found the source of a smell I had been blaming on the fridge for weeks. It turned out to be a leaked bottle of soy sauce wedged behind a cereal box for who knows how long. A pantry deep clean turns up things you did not know you were dealing with, and you only get an easy shot at reaching them while the shelves are completely bare.
Step 2: Sort by category before you touch a single container
Group everything into rough categories on the table: baking staples, grains and pasta, snacks, breakfast items, canned and jarred goods, spices. Do not skip this and go straight to decanting. I tried that the first time and ended up with three half-full containers of flour scattered across different shelves, because I filled containers as I found bags instead of planning the groups first, which defeats the whole point of doing this in an organized way to begin with.
Once things are grouped, you will have a rough sense of how many containers you actually need per category, and roughly what sizes to reach for. This is also when you will notice duplicates. I had three opened bags of the same brand of oats, all half full, all stashed in different corners because I kept forgetting I already had one open somewhere else. Consolidating that alone freed up real shelf space before a single container even came out of the box.
Step 3: Decant dry goods into airtight containers, biggest items first
This is the actual heart of the project. Start with your biggest volume items, flour, sugar, rice, oats, and work down to smaller ones like brown sugar and chocolate chips. I used the Vtopmart set for this because it comes with a real range of sizes, from the big rectangular bins that hold a full five pounds of flour down to smaller square containers for things like chia seeds or panko breadcrumbs, so I was not stuck buying a second brand just to cover the small stuff.
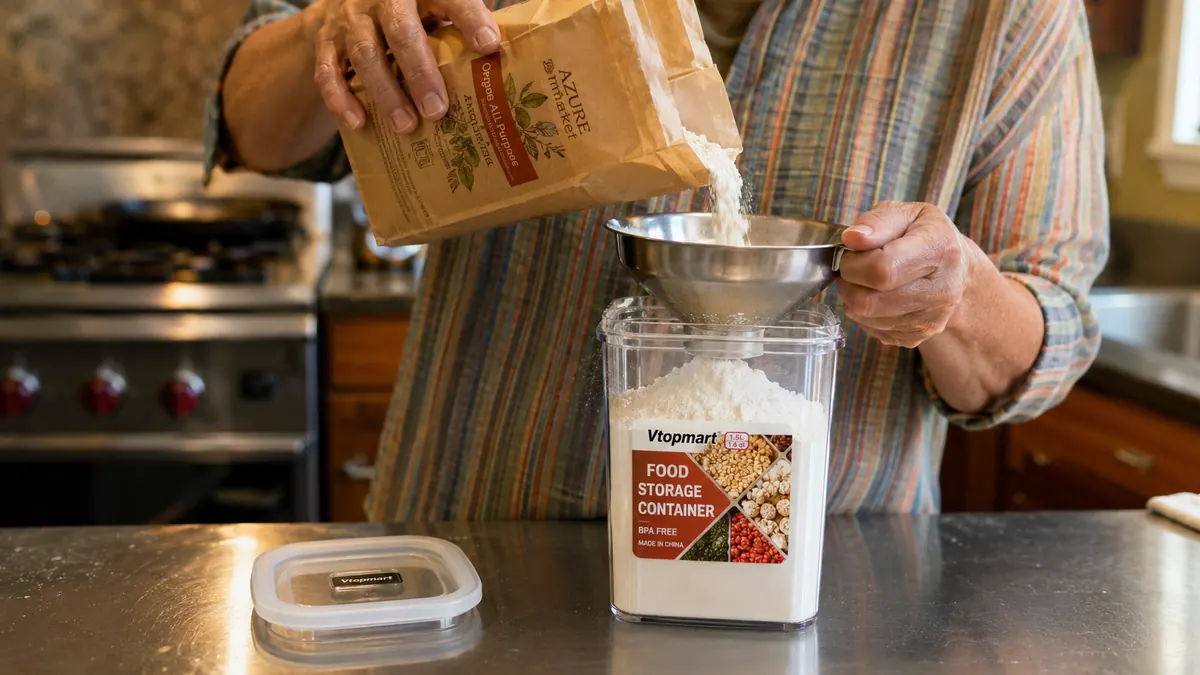
Use a funnel for anything powdery, flour and cornstarch especially. I skipped the funnel the first weekend, out of pure laziness, and spent twenty minutes with a shop vac cleaning white dust out of the pantry corners afterward. Not my finest hour. A three dollar funnel would have saved me the whole afternoon, and I have not skipped it since, no matter how much of a hurry I am in.
The seal on the Vtopmart lids is the part that actually matters here, more than the shape or the stacking. It is a four-latch design that clamps down evenly on all sides, and after three years of daily use mine have not gone soft or stopped snapping shut, which is more than I can say for the cheaper clip-lid bins I tried before these. That seal is what keeps the humidity and the bugs out, and that was the entire reason I started this project in the first place, not just to make the shelves look nicer.
See the exact set I decanted my whole pantry into
24 pieces covers flour, sugar, rice, pasta, cereal, and the smaller staples with room to spare. If you're doing this project in one weekend, one set gets you there without a second Amazon order.
Amazon Check Today's Price on Amazon →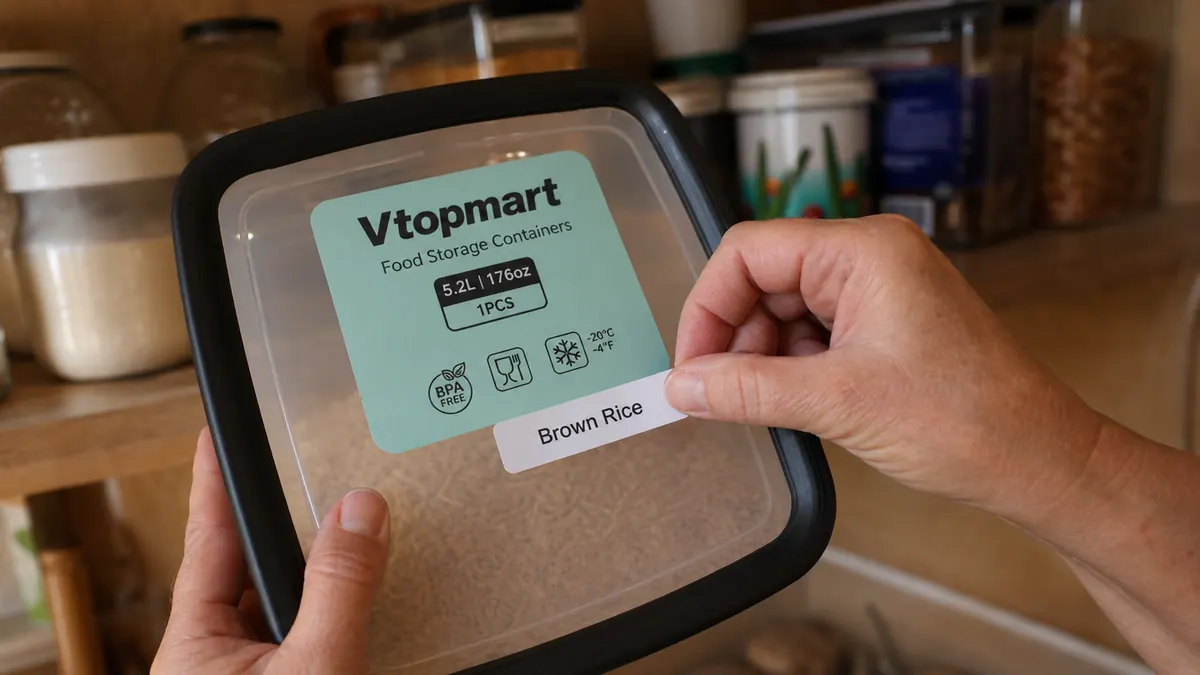
Step 4: Label everything, including the expiration date you're transferring over
This is the step people skip and then regret six months later. Once dry goods are out of their original packaging, you lose the printed expiration date, and there is no way to reconstruct it once the bag is in the recycling bin. Before you toss the empty bag or box, write the best-by date on a piece of masking tape or a proper label and stick it to the container lid. I use a cheap label maker now, but painter's tape and a marker work fine to start, and nobody will know the difference from across the kitchen.
Label the contents too, even when it seems obvious in the moment. Flour and cornstarch look nearly identical in a clear container, and so do granulated sugar and coarse salt sitting side by side on a shelf. I mixed up sugar and salt in a batch of cookies once because I trusted my eyes instead of a label, and the whole batch went straight in the trash. Never again, not after that particular lesson in humility.
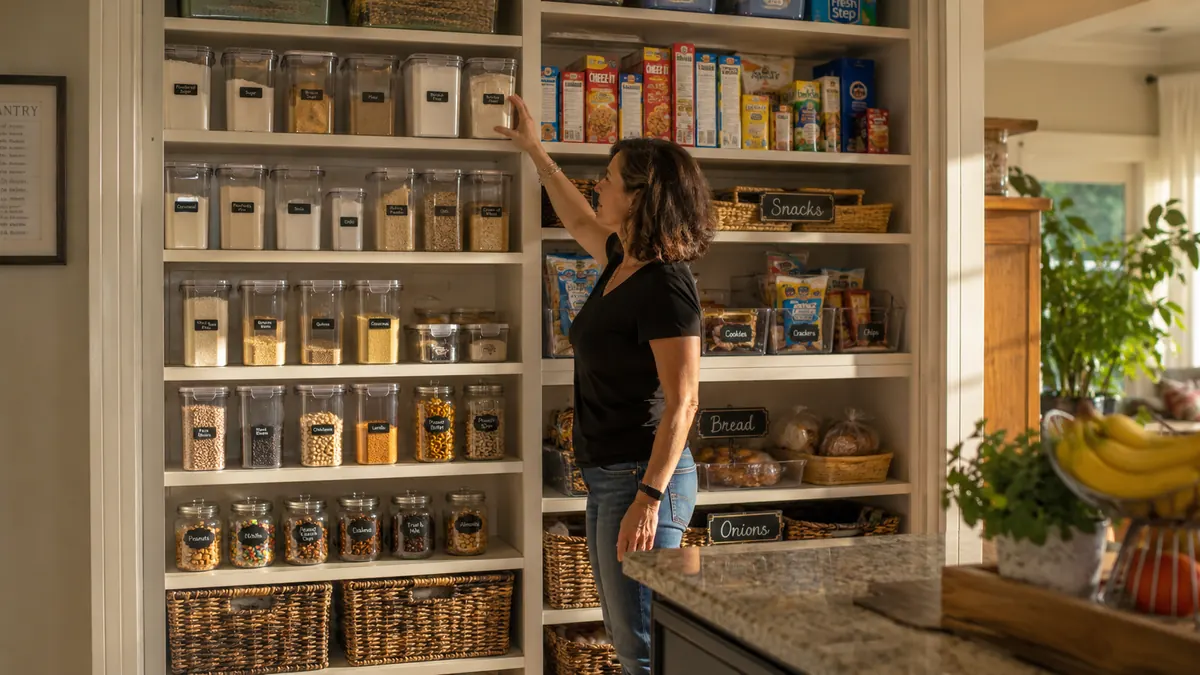
The clear Vtopmart containers make this easier than opaque bins because you can see the contents right through the plastic at a glance, which helps when you are grabbing something quickly on a weeknight. But a label still matters for the date and for anyone else in the house who did not just spend a Saturday building this system with you and will not know what half of it is without one.
Step 5: Arrange by frequency of use, not by category alone
Once everything is decanted and labeled, resist the urge to arrange purely by category. Put what you reach for most, cereal, snack items, coffee, at eye level or on the front of the shelf. Baking staples you use once a week can go a shelf down. Bulk items you restock rarely, like extra pasta or backup flour, go on the top shelf or tucked in the back where they are out of the way until you actually need them.
The square and rectangular shapes in the set stack cleanly, which matters more than it sounds like it would. My old round canisters wasted a huge amount of corner space because round containers do not nest against each other no matter how you arrange them. Switching to square containers alone recovered enough room that I fit two extra shelves worth of items into the exact same footprint I already had, without adding a single new shelf to the pantry.
Leave a little breathing room too. A pantry packed edge to edge looks impressive on day one and becomes a puzzle by week three, when you are trying to wedge a new container in without knocking three others off the shelf onto your foot. I keep about an inch of slack on every shelf now, and it has saved me more than a few stubbed toes.
What Else Helps
A lazy Susan for oils and vinegars near the front of the pantry saves a lot of digging around bottles that all look the same from behind. A small dehumidifier packet or two tucked in the back corner is worth it if your pantry backs onto an exterior wall, which is common in a lot of Florida homes and invites more humidity than an interior pantry would, especially in the summer months when the air conditioning is fighting a losing battle against the outside air. And if you want the full case for switching to this kind of setup in the first place, I laid out ten reasons airtight containers fix pantry chaos that go beyond just tidiness, including the bug problem I mentioned above.
If you are still deciding whether this particular set is worth it, I also wrote a full honest review of the Vtopmart containers after using them daily for a while, including the couple of small gripes I have with the lids and where I think they fall short of perfect, because nothing gets a five-star write-up from me without a fair look at the downsides too.
The seal is what does the work. Everything else, the labels, the arrangement, the shape of the bins, is just making that seal easy to live with every day.
Ready to stop refilling clip bags every few weeks
Get the same set I used to rebuild my pantry in one weekend and keep the humidity and the bugs out for good.
Amazon Check Today's Price on Amazon →